You already know that a weak knot costs you fish. Whether you’re using monofilament or braided line, you need the right knot tied correctly.
Moisture, technique, and testing separate anglers who consistently land fish from those who don’t. Here’s what you need to know before your next trip.
Why Fishing Knots Matter: The Critical Connection
When you’re out on the water with your line cast and your rod in hand, there’s one thing standing between you and a lost fish: your knot. You need reliable knots that won’t fail you.
Throughout knot history, anglers discovered which ties held strong under pressure. Modern knot evolution has refined these techniques, giving you proven methods that work.
A poorly tied knot means losing fish and wasting your time. You deserve gear you can trust completely.
Learning proper knot-tying techniques gives you the confidence to fish hard, knowing your connection won’t break when it matters most.
Mono vs. Braided: Choose Your Knot Strategy
Your choice of fishing line shapes which knots’ll work best for you.
Monofilament pairs perfectly with the Uni Knot and Improved Clinch Knot for solid reliability.
Braided lines demand stronger alternatives like the Palomar Knot or Double Uni Knot.
When you’re joining mono to braided, you’ll want the Albright Knot or Nail Knot: skip the Blood Knot entirely.
For small braided connecting to larger tippets, the Slim Beauty Knot delivers superior strength.
Line compatibility matters critically here.
Always moisten your knots before tightening; this protects your knot materials and maintains full tensile strength during the process.
Prep Your Line: Moisture and Lubrication Essentials
Before you pull that knot tight, you’ve got to prep your line properly, and that means adding moisture.
Water or saliva reduces friction when you tighten your knots, preserving the line’s breaking strength. Better yet, vegetable oil works as a superior lubrication alternative, minimizing potential damage.
Dry knots lose significant strength, sometimes dramatically, compared to wet ones. Moistening before tightening guarantees your knot holds securely when you need it most.
After you’ve achieved that tight connection, trim excess line with nail clippers for a clean finish.
These prep steps give you reliable knots that won’t betray you on the water.
Master the Palomar: Strength for Braided Lines
The Palomar knot‘s a game-changer once you’ve got your line prepped and moisturized.
You’ll double your line and thread it through the hook eye without twisting. Form an overhand knot with that doubled section.
Then pass the loop over your hook to lock everything down. The Palomar advantages shine here: it’s simple, reliable, and holds strong with braided lines.
Before you tighten, make sure that knot’s wet. Pull both ends firmly. Trim the excess line close to the knot for a clean finish.
You’ve eliminated weak connections and tangles.
Different knot variations exist, but this one’s your workhorse for braided setups.
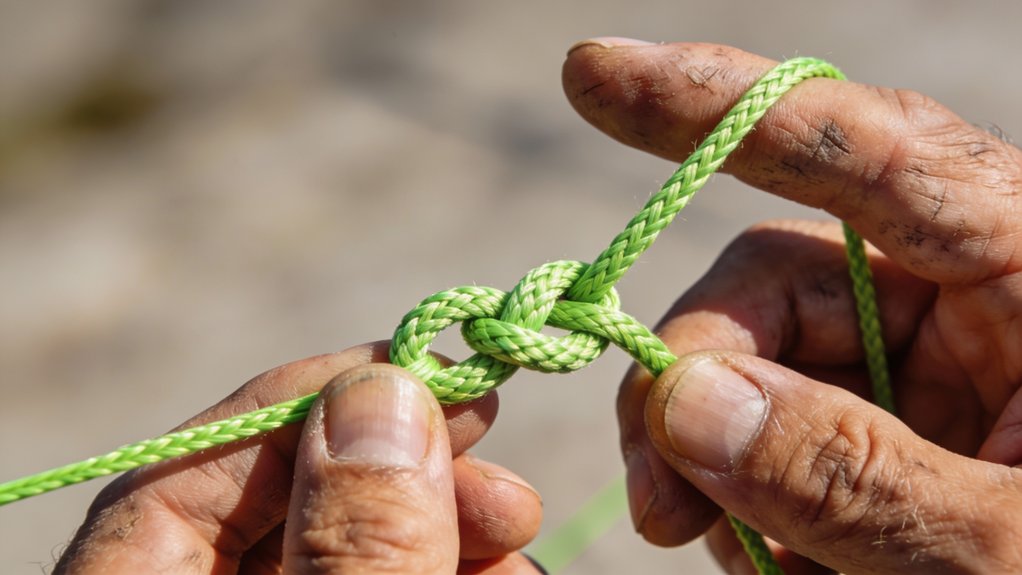
Perfect the Uni Knot: Versatility for Any Line
While the Palomar knot excels with braided lines, the Uni knot‘s where you’ll find true versatility.
You’ll wrap your tag end around the doubled line six times, then pull tight.
The uni knot benefits include working equally well with monofilament and braided lines.
These tying techniques are straightforward: run line through the hook eye, double it back, and wrap systematically.
Moisten the line before tightening: this guarantees smooth tightening and preserves tensile strength.
You can attach jig weights, leaders, locks, and split rings with confidence.
The Uni knot’s reliability makes it indispensable for every angler’s toolkit.
Secure Hooks and Lures: The Improved Clinch Method
Secure Hooks and Lures: The Improved Clinch Method
If you’ve mastered the Uni knot’s versatility, you’re ready for another powerhouse: the Improved Clinch knot. This knot efficiency makes it ideal for securing hooks and lures reliably.
Thread your fishing line through the hook eye, then double it back. Twist the line five to seven times around the standing line.
Thread your line through the hook eye, double it back, then twist five to seven times around the standing line.
Pass the end through the small loop near the hook eye, then through the larger loop. Moisten with water to reduce friction.
Pull the standing line tight against the hook eye. Trim excess line. This method works beautifully with monofilament and braided lines alike.
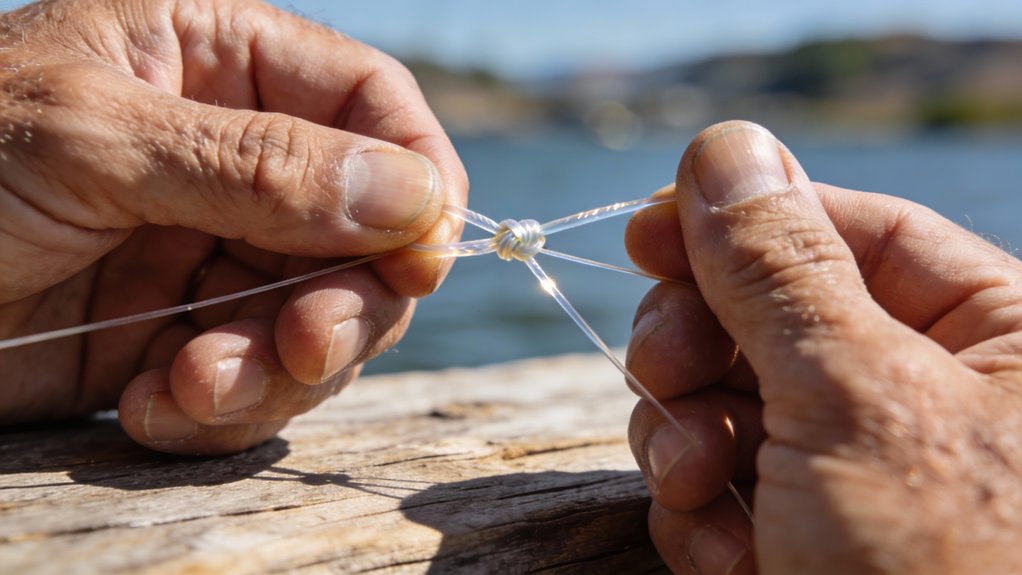
Connect Two Lines: The Uni to Uni Splice
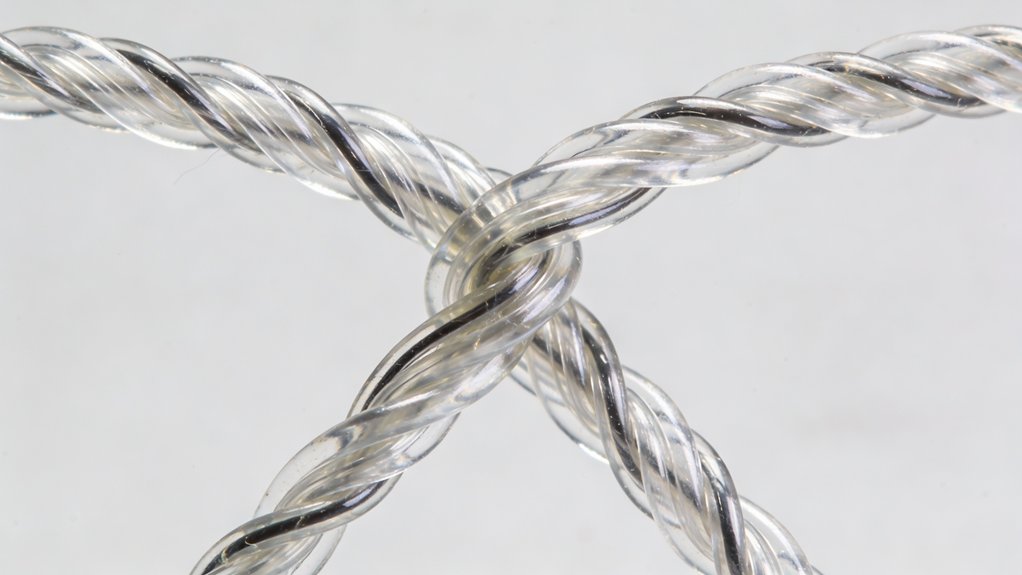
Connecting two fishing lines together requires a knot that won’t slip under pressure, and the Uni to Uni Splice delivers exactly that.
Start by overlapping your lines about six inches and form a loop with the tag end of your main line.
Wrap it around both lines six to eight times for proper knot tension.
Repeat this wrapping process with the leader’s tag end around its standing line.
Moisten both knots with water to reduce friction and guarantee smooth line alignment.
Finally, pull both standing lines away from each other, bringing the knots together for a secure, reliable connection.
Dry Knots Fail: Common Mistakes and Fixes
One mistake’ll cost you a fish faster than anything else: tying your knots bone dry. When you skip moisture, your line becomes brittle and weak. Always wet your knots before tightening, use water or vegetable oil as lubricant.
This simple step guarantees smooth tightening and prevents unexpected breakage under load.
Knot tension matters too. Pull your knots tight enough before cutting excess line.
Loose connections leave weak points that’ll fail when you need them most. Count your wraps carefully; multiple tightly wound turns create stronger performance.
Test your knots under actual fishing conditions beforehand. You’ll catch problems before they catch you on the water.
Pull Test Your Knots: Pre-Trip Strength Verification
Before you head out to the water, you’ve got to test your knots under actual pressure. Attach your knot to something sturdy and gradually increase tension until it either holds firm or fails.
Moisten the knot first; dry knots lose serious strength. A reliable knot maintains at least 70% of your line’s breaking strength during knot testing. If it slips or breaks early, re-tie it.
This fishing safety practice takes minutes but prevents lost catches. Testing before your trip guarantees you’re confident your gear won’t let you down when it matters most.
Know When to Retie: Signs of Knot Degradation
Your knots won’t stay perfect forever, even after you’ve tested them thoroughly. Regular knot inspection catches problems before they cost you a catch.
Watch for these warning signs:
- Fraying or visible wear on the knot itself
- Loose knots that slide along the line
- Discoloration or stiffness around the knot area
You’ll want to increase your retie frequency after landing large fish or fishing harsh conditions like saltwater.
UV exposure and salt both weaken lines over time. If a knot feels even slightly off, retie it.
That few minutes of work beats losing your fish to a failed connection.