Most beginners lose their first few fish to a knot, not to bad luck. The fix is not learning twenty knots. Four cover almost everything a beginner ties, and each one earns its place for a clear reason.
A simple, well-tied knot you trust out-fishes a complicated one you don’t. A knot you can tie reliably at the water with cold fingers beats a fancier one you half-remember.
This guide covers those four knots, why each holds, and the one habit that decides whether any of them survives a hard pull. If you are still sorting out gear and a first rig, the start-here guide to catching your first fish covers that side.
The One Habit That Saves Every Knot: Wet It First
Before any knot, one rule does more for you than knot choice ever will.
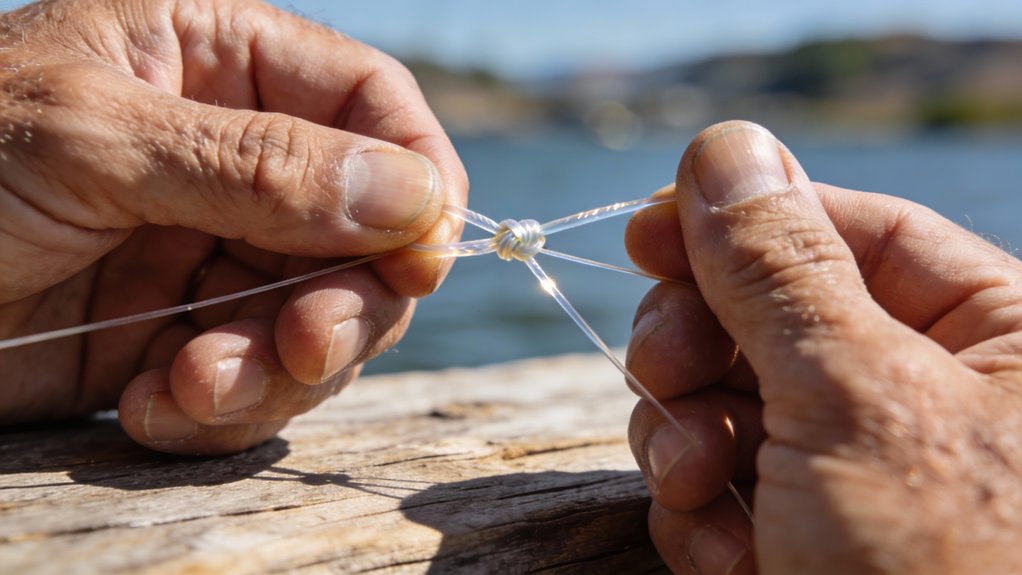
Wet the knot with water or saliva before you pull it tight. A dry knot heats and weakens the line as it cinches, right where it is already under the most stress. A wet knot seats smoothly and holds far closer to the line’s full strength.
The sequence for every knot below is the same: tie it, wet it, snug it down slowly, then trim the tag end close so it cannot catch weeds or a fish’s mouth.
The Improved Clinch: Your Everyday Hook Knot
Start here. The improved clinch ties a hook, lure, or swivel to your line, and it is the knot you will use most often.
The improved clinch is quick to learn and holds well in monofilament. The “improved” part is one extra tuck that stops the basic clinch from slipping under load.
To tie it:
- Thread the line through the hook eye and double it back alongside the standing line.
- Twist the tag end around the standing line five to seven times.
- Pass the tag end through the small loop just above the hook eye, then back through the big loop you just made.
- Wet it, pull the standing line slowly until the wraps stack neatly against the eye, and trim.
It is forgiving and obvious when you have tied it right, which is why it belongs first.
The Palomar: The Strongest Knot for Braid
If you fish braided line, the palomar is the one to know. Braid is thin and slick, so the clinch can slip on it, but the palomar holds.
The palomar is one of the strongest knots for braided line, and it stays simple because you tie it with a doubled line. Doubling the line gives it the grip that braid otherwise resists.
To tie it:
- Double about six inches of line and pass the loop through the hook eye.
- Tie a loose overhand knot with the doubled line, leaving the hook hanging in the loop.
- Pass the loop all the way over the hook.
- Wet it, pull both the standing line and tag end to seat it, and trim.
One thing to watch: keep the doubled line from twisting in the eye, or it seats unevenly.
The Uni Knot: One Knot for Mono or Braid
The uni knot is the versatile one. It works on monofilament and braid, ties a hook on, and forms half of the line-to-line join below.
The uni knot earns its keep by covering several jobs with one knot’s worth of learning. Learn it once and you cover hooks, swivels, and leaders on either line type.
To tie it:
- Run the line through the hook eye and fold the tag end back to make a loop alongside the standing line.
- Wrap the tag end through that loop and around the doubled line about six times.
- Wet it, pull the tag end to close the wraps into a barrel, then slide the knot down to the eye and snug it.
That range makes the uni the knot to fall back on when you are unsure which to use.
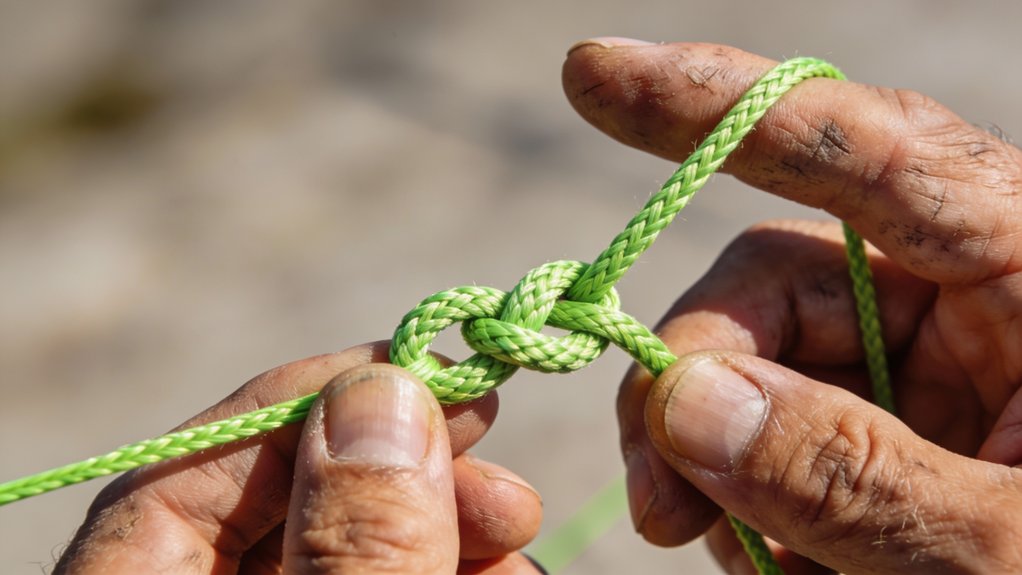
The Double Uni: Joining Two Lines
Sooner or later you will tie a lighter leader to your main line, which needs a line-to-line join. The double uni is the beginner-friendly way to do it.
The double uni is two uni knots tied facing each other, which makes it easy to remember once you know the single uni. Each line grips itself, then the two knots slide together into one connection.
To tie it:
- Overlap the two lines by about six inches.
- Tie a uni knot with the first line’s tag end around the second line, wrapping six to eight times.
- Repeat with the second line’s tag end around the first.
- Wet both knots, then pull the standing lines apart so the knots slide together and lock.
It is bulkier than advanced joins, but reliable and forgiving, which matters more than a slim profile while you are learning.
Before You Fish: Test the Knot
A knot you have not tested is a guess, and the fix takes seconds.
Pull the finished knot firmly against steady tension before you cast; a knot that is going to fail usually fails in your hands, not on a fish. If it slips or pops under a firm steady pull, cut it off and tie again.
Re-tie more often than feels necessary, too: after landing a good fish, after fishing rough cover, and any time the knot looks frayed, stiff, or discolored. Knowing when something is off is half of why anglers go home empty-handed.
Four knots, one wetting habit, and a quick pull test. That is a complete kit for a beginner, and it covers nearly every situation you meet whether you fish from a pier, a bank, or a boat.